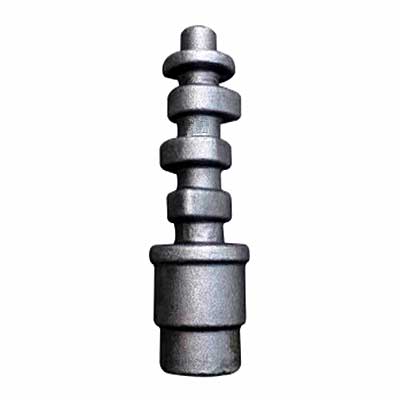
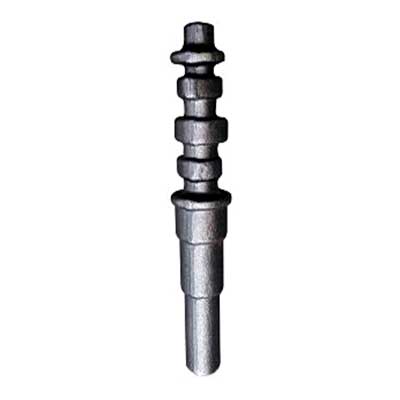
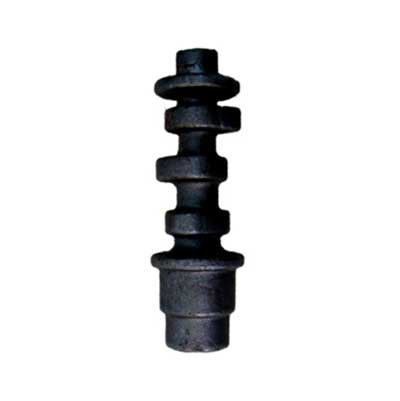
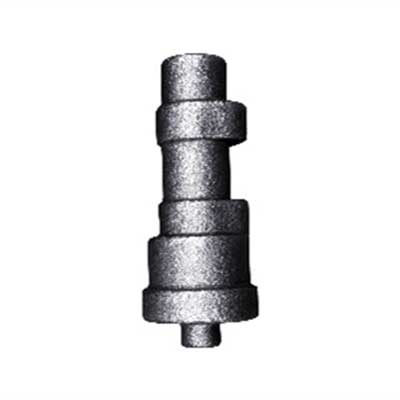
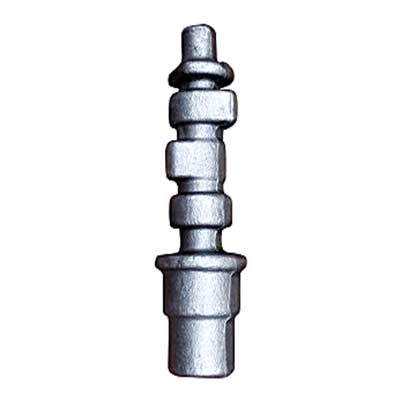
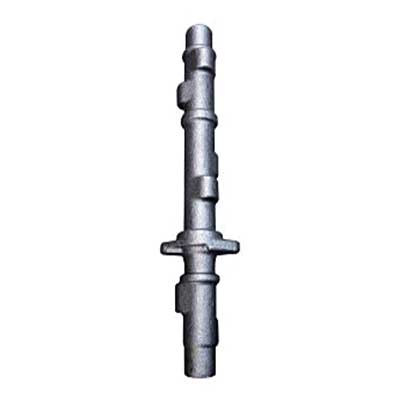
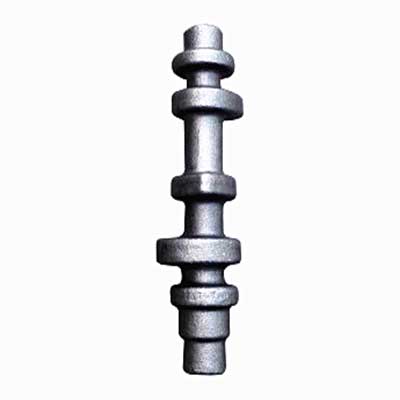
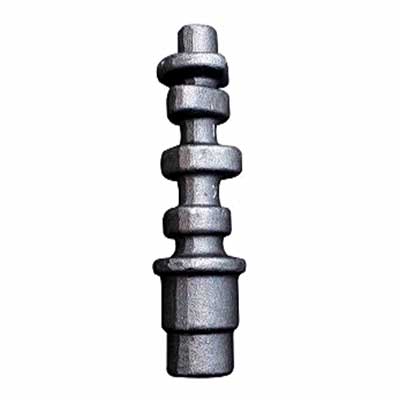
First, the compressor camshaft has problems in forging
1. Inspection project of camshaft in general compressor factory
Since the camshaft of large gas compressor rotates at high speed during operation and is subjected to large bending stress and torsional stress, the internal quality of the camshaft is high. The manufacturer mainly has the following inspection items: mechanical properties (45 steel only), low Double test high-spectrum test (non-metallic inclusions, grain size, etc.), ultrasonic flaw detection, magnetic particle inspection, etc.
2. Common quality problems and causes of large compressor camshafts
(1) The quality problems of camshafts for large gas compressors are:
a. Metallographic examination often finds mixed crystal phenomenon, that is, uneven grain thickness and coarse grain.
b. Ultrasonic flaw detection exceeds the standard.
When the forgings are recrystallized at high temperature plastic deformation, the size of the grains is determined; the temperature, the degree of deformation and the deformation speed are determined. At a certain forging temperature, there is a critical deformation range. When the compressor camshaft forging is forged, if the degree of deformation is in this critical deformation range, the grain of the forging is recrystallized and the grain is relatively coarse. When the forging is forged, especially the deformation at the last fire should be avoided within this range. From the production process of camshaft forgings of large gas compressors, when the finished product is burned back, the forging temperature is high and the deformation is small, which is the cause of coarse grain. In addition, improper heat treatment after forging is another cause of mixed crystals and coarse grains.
(2) The main reasons for the failure of the ultrasonic testing of the camshaft of large air compressors are:
a. The purity of the forging steel is not high, causing a large number of inclusion defects inside the compressor camshaft forging, and the gas content is too high, and the white point defect is caused by improper heat treatment after forging.
b. During the forging process, the core is not sufficiently deformed, and the original as-cast microstructure such as looseness, voids, and segregation are not improved. The former requires advanced metallurgical processes to improve the purity of the steel, so that harmful elements such as P and SH are reduced as much as possible, while the latter requires workers in the forging industry to constantly explore new processes to improve the deformation conditions of the forging deformation process. . In recent years, under the premise of improving the quality of steel ingots, advanced process methods and some technological measures have been adopted in the production of forgings to improve the internal quality of camshaft forgings of large air compressors.
Second, develop a forging process plan and implement it in production
1. Develop a forging process plan
In order to solve the problem of the internal quality of the compressor camshaft forgings, the following improvements have been made to the production process:
(1) Increasing the temperature and holding time of the sensitive and thickening, the temperature is one of the necessary conditions for the internal defect welding during plastic deformation, and the heating temperature is increased and kept at a high temperature for a long time, which is favorable for the diffusion of metal elements. At the same time, it also creates favorable conditions for welding the void defects of the core of the large section forging during forging. Therefore, after the thickening of the thick anvil, the holding temperature is strictly controlled or the holding time is increased by 30%~40%, and the higher temperature and good heating state provide the necessary conditions for the upsetting and the wide anvil.
(2) In the process of lengthening, the process of compacting the center of the wide anvil is used. In essence, the upper and lower wide anvils are pressed according to the WHF method, and the blanks are forged at high temperature according to the specific deformation data. . Each time the blank in the flat deformation is deformed in one direction, it is sufficient to ensure the internal looseness and the sufficient welding of the pores.
(3) Adding a hydrogen expansion and normalizing treatment to the billet after compacting the center of the wide anvil. The main purpose of this is to ultrasonically inspect the cooled billet to ensure the production of qualified finished forgings. If the blank is ultrasonically flawed, the billet is reheated into the furnace and then forged into a camshaft forging. Otherwise, the billet is used for other purposes.
(4) Strictly control the burning of the head fire in the last fire to prevent the phenomenon of mixed crystals and coarse grains.
(5) Develop a reasonable heat treatment process to eliminate the mixed crystal and coarse grain defects generated after forging and prevent the generation of white spots.
2. Formulate and implement the post-forging heat treatment process for compressor camshaft forgings
Due to the complicated shape of the compressor camshaft forgings, complicated production process, uneven deformation, uneven chemical composition, uneven grain size of forgings, uneven structure and performance of forgings, etc., it is also easy to exist due to the presence of hydrogen inside the camshaft forgings. The problem of white spots and hydrogen cells inside the forgings, all of which require the camshaft to be heat treated after forging. In addition, for carbon steel camshafts that do not require quenching and tempering, mechanical properties under service conditions are also to be satisfied. Therefore, in order to ensure the quality of the camshaft forging, the camshaft must be heat treated after the forging is completed.
In recent years, it has been found from the failure analysis of the camshaft of a gas compressor that is broken at work, the fracture of the camshaft is mostly at the crank, where the metallographic analysis is performed, and the mixed crystal at the fracture is severe and coarse. Crystals exist in the Wei’s organization. It is well known that coarse crystal and Wei’s structure have a great influence on the impact properties. The coarser the crystal grains, the easier it is to produce Wei’s structure, and the lower the impact performance, the more easily the camshaft is broken.
According to the design requirements and failure modes of the camshaft, the technical requirements for the camshaft forgings have been gradually improved, especially for the grain size and Wei’s organization. The main inspection requirements after heat treatment are:
a. There must be no white spots inside the forgings;
b. Metallographic organization: Wei’s organization should be no less than level 1 (excluding level 1);
c. The grain size shall not be lower than 5.5;
D.45 carbon steel camshaft after tempering performance: Rm ≥ 550 ~ 690MPa; R. ≥ 275 MPa; A ≥ 14%; Z ≥ 32%; Ak ≥ 24J.
In order to meet the above requirements, high-quality camshaft forgings were manufactured, and all aspects of camshaft production were controlled, and on-site operation guidance was carried out for all aspects of production. In order to prevent the production of white point defects, ladle vacuum distillation is used in smelting, and post-forging heat treatment is performed by hydrogen expansion annealing; in order to prevent mixed crystals and generate Weiss structure, deformation of initial forging temperature and final forging temperature deformation is performed on forging. The parameters such as the sequence are strictly controlled; in the post-forging heat treatment, the heat treatment equipment is strictly restricted, and the cam shaft must be heat-treated with a furnace with uniform temperature control, and the furnace capacity is appropriately controlled, and the furnace is selected according to the actual situation of the forging production. Or two normalizing + tempering treatment.

