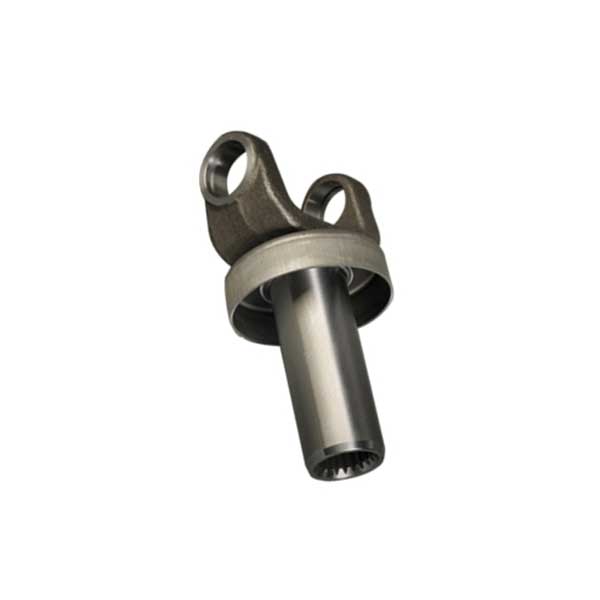
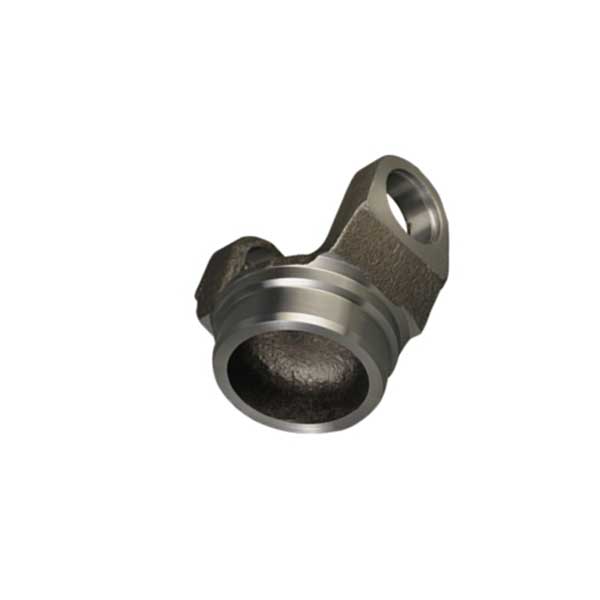
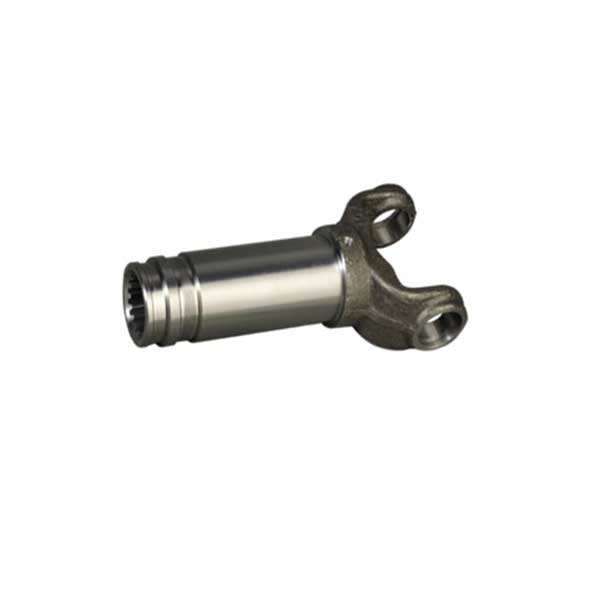
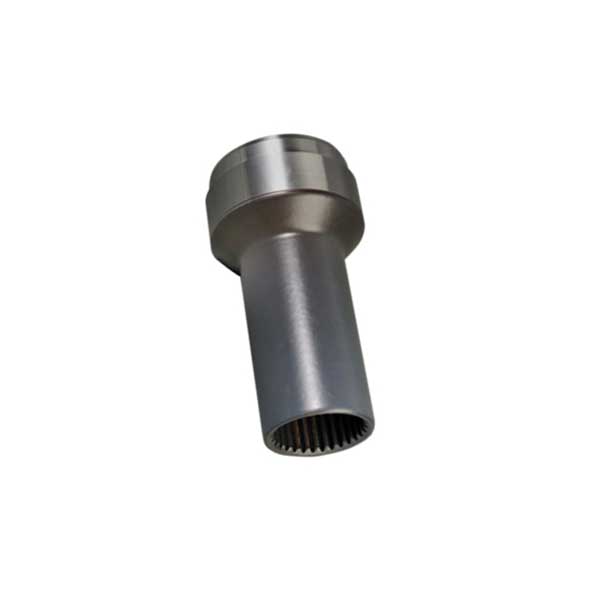
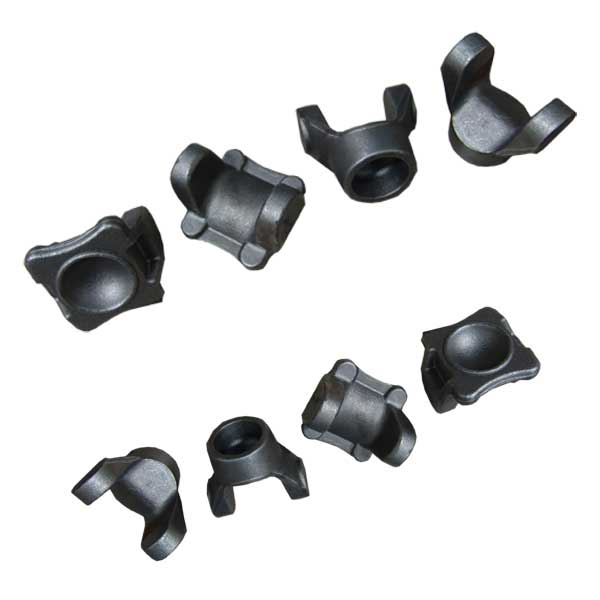
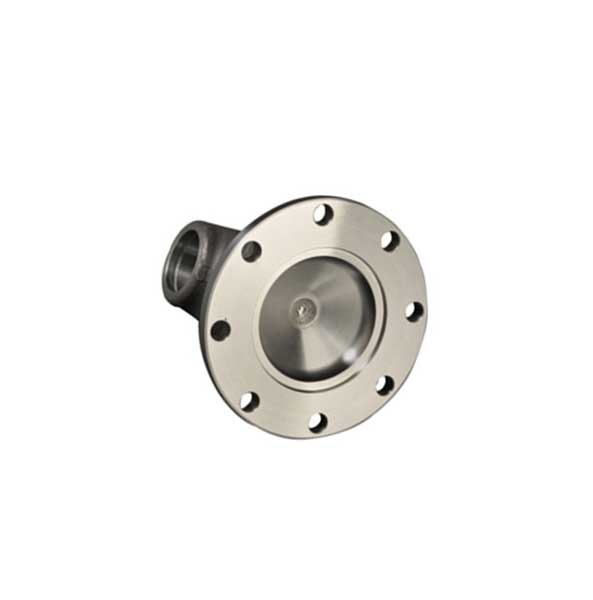
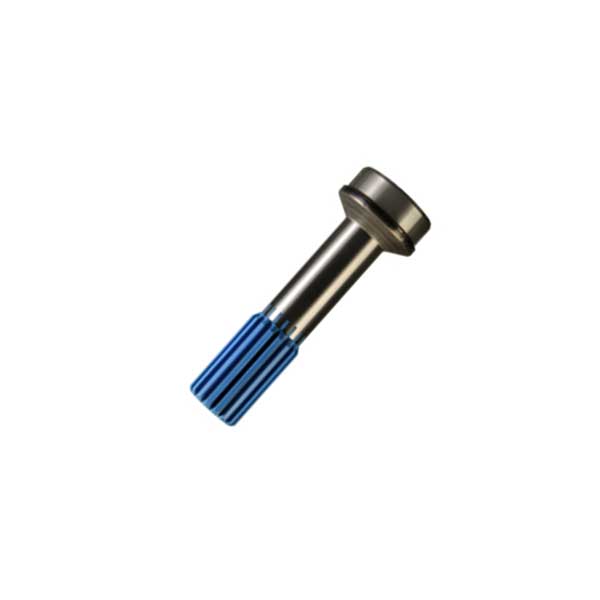
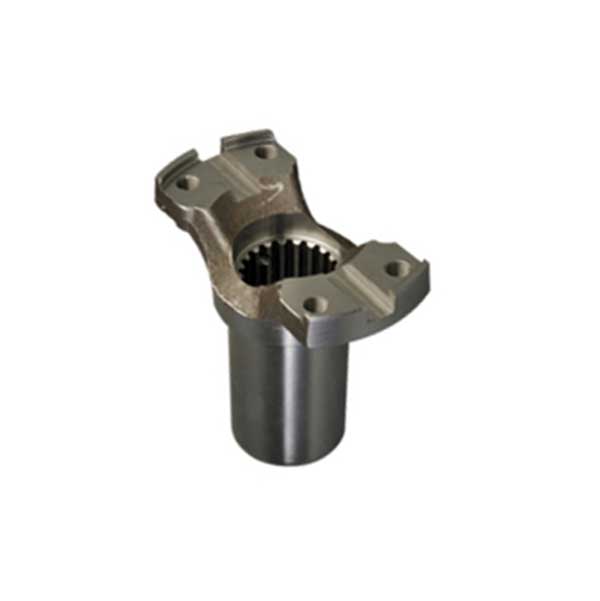
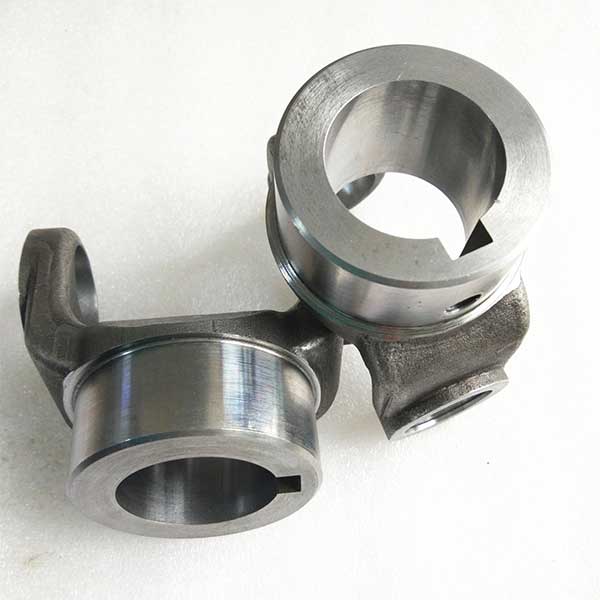
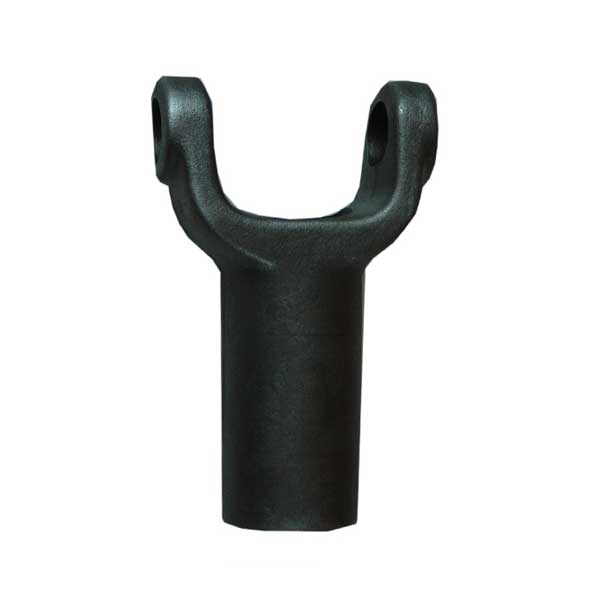
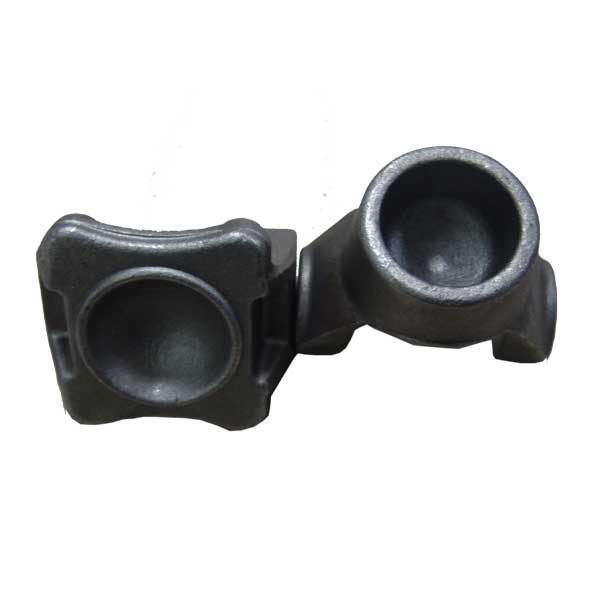
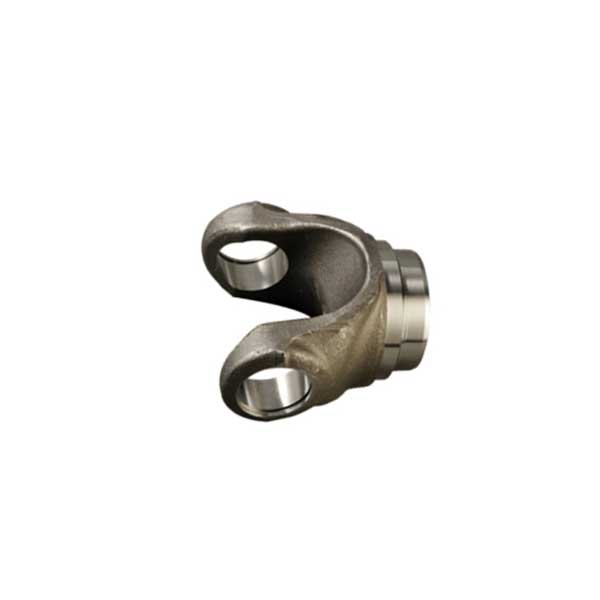
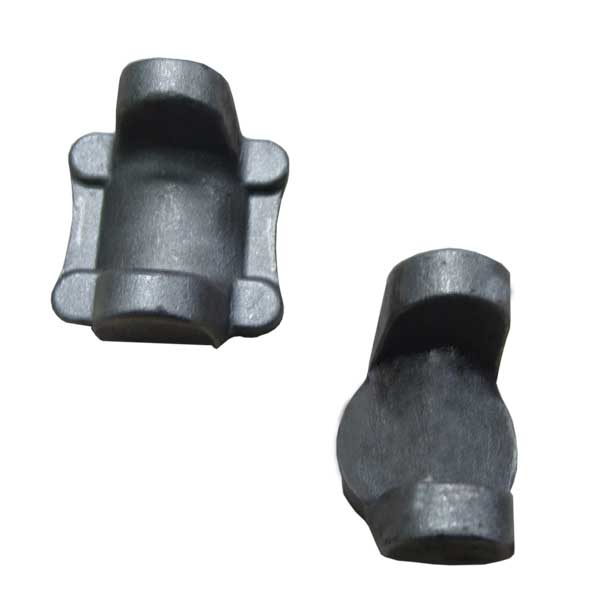
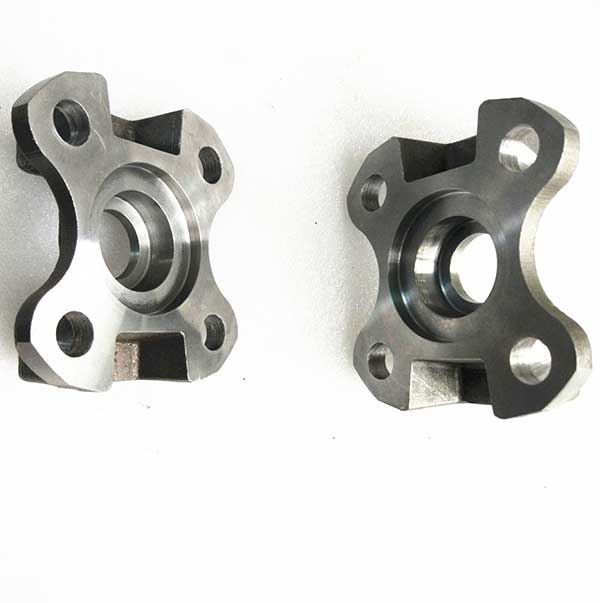
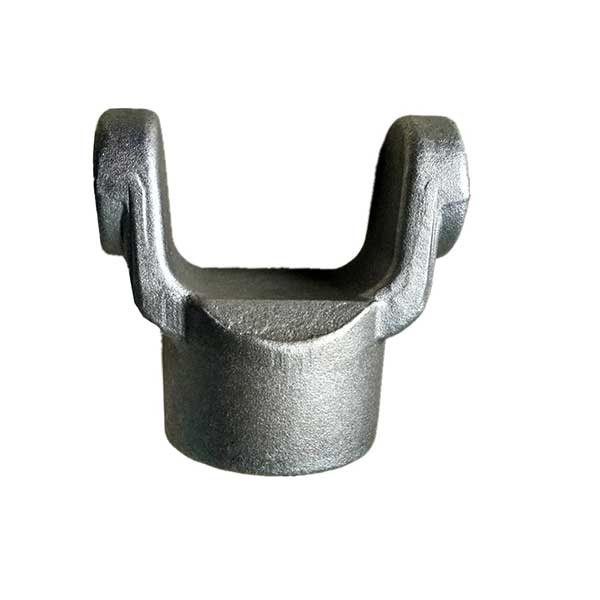
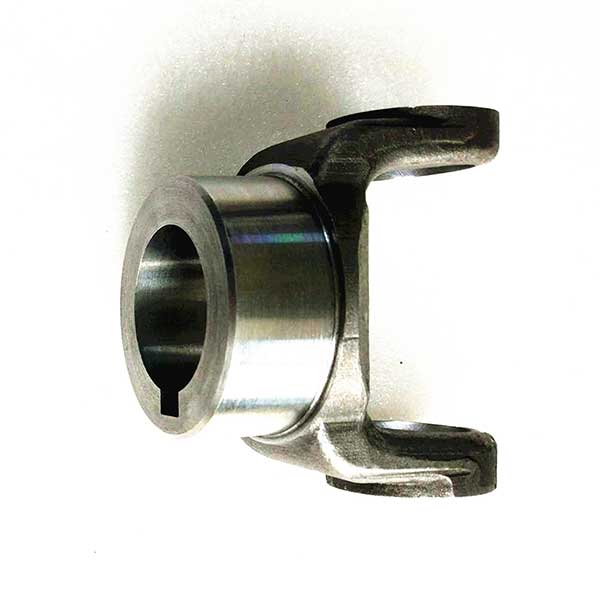
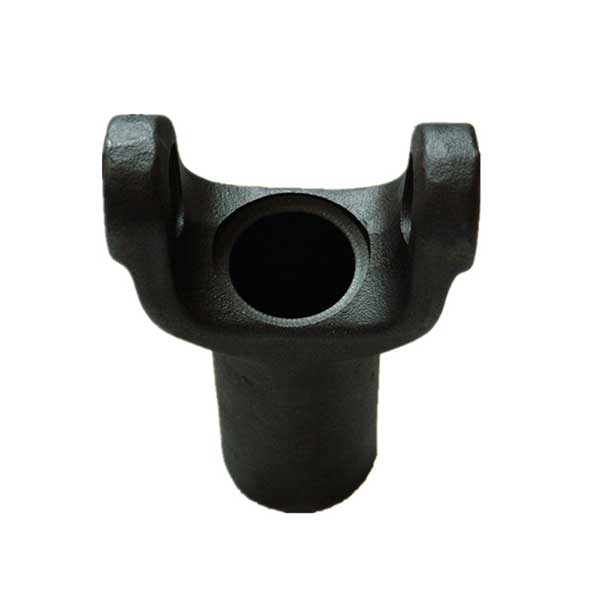
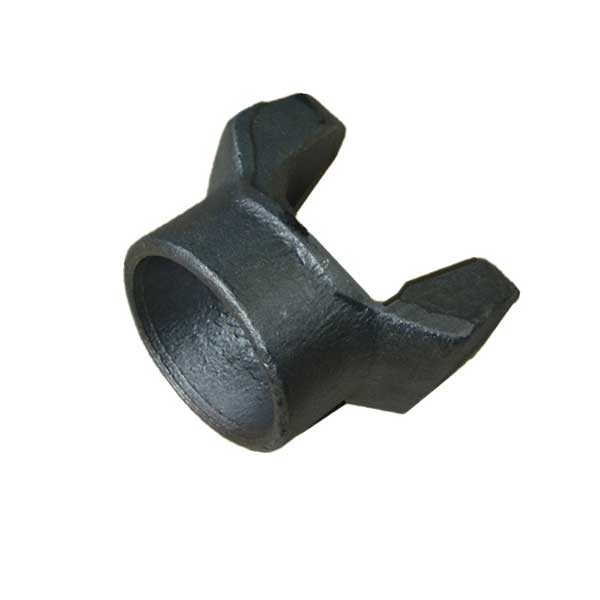
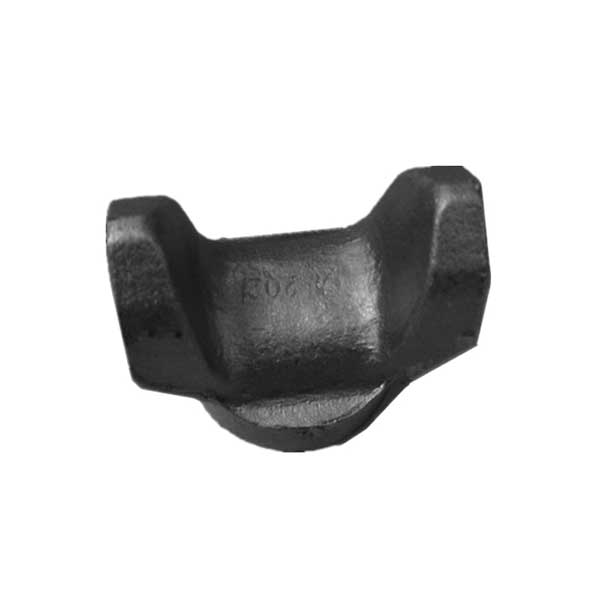
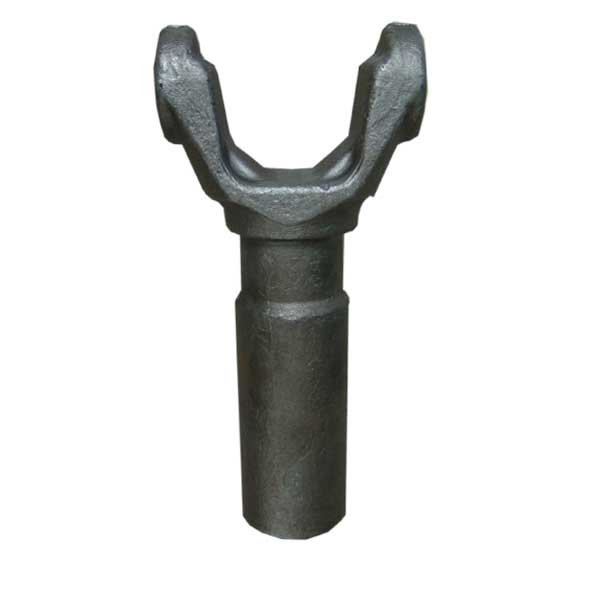
Forging blank type analysis
Commonly used blanks for machining include castings, forgings, profiles and welded parts. The different blank types and the accuracy, roughness and hardness of the blank have a direct impact on the machining process. There are also the shape and characteristics of the blank, which directly affects the difficulty of machining and the consumption of materials.
The drive shaft forgings should be made of different materials according to different working conditions and usage requirements and adopt different heat treatment specifications (such as quenching, normalizing, quenching, etc.) to obtain certain strength, toughness and wear resistance.
45 steel is a common material for drive shaft forgings. It is cheaper to pass the quenching and tempering (or normalizing), can get better cutting performance, and can obtain high mechanical strength such as high strength and toughness, and the surface is hard after quenching. The degree can reach 45~52HRC.
40Cr and other alloy structural steels are suitable for medium-precision and high-speed transmission shaft forging parts. These steels have good comprehensive mechanical properties after quenching and quenching.
Bearing steel GCr15 and spring steel 65Mn, after quenching and tempering and surface quenching, the surface hardness can reach 50~58HRC, and has high fatigue resistance and good wear resistance, which can produce high precision shaft.
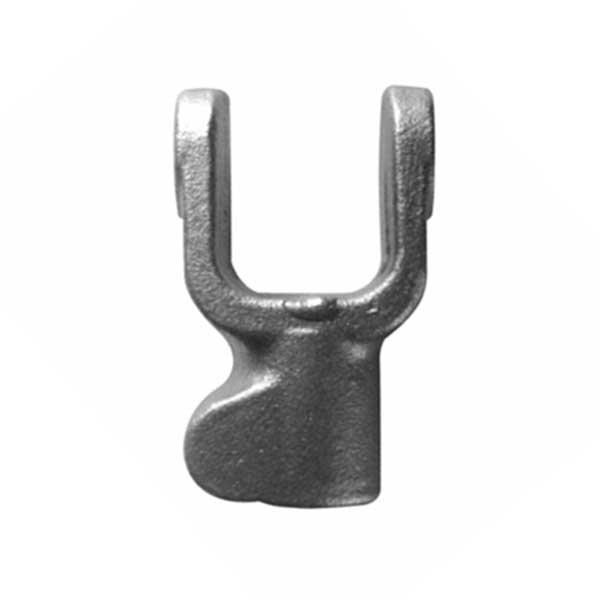
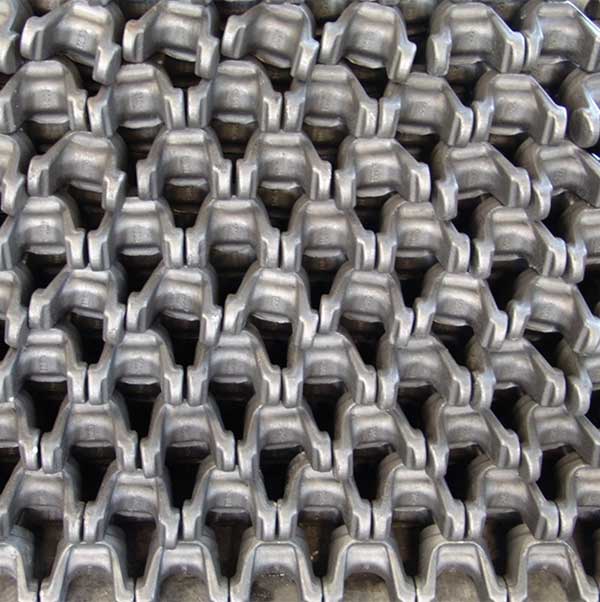
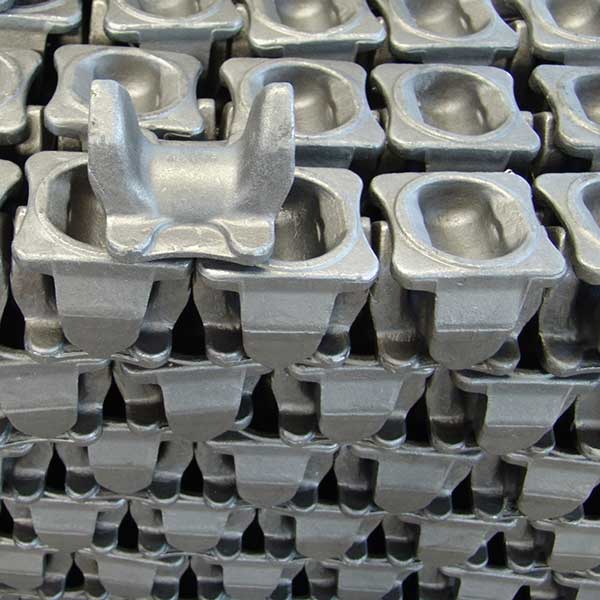
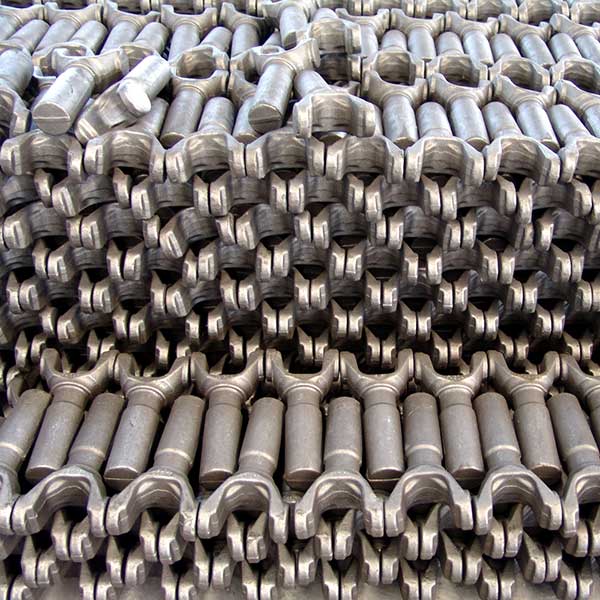
According to the manufacturing material of the drive shaft (45 steel), the blank type can be used for profiles and forgings, and forgings are now used; the blanks are free forged.
Note on the processing specifications of the drive shaft forgings
The development of the process specification for the drive shaft forgings is directly related to the quality of the workpiece, labor productivity and economic benefits. A part can have several different processing methods, but only some of them are more reasonable. In the development of mechanical processing procedures, the following points must be noted:
(1) In the process analysis of the parts drawing, it is necessary to understand the technical requirements of the structural characteristics, precision, material, heat treatment, etc., and to study the product assembly drawing, component assembly drawing and acceptance criteria.
(2) The processing route of carburizing parts is generally: blanking→forging.→normalizing→roughing→semi-finishing→carburizing→carbon removal processing (for parts without hardness)→quenching→threading, drilling Or milling groove – + rough grinding → low temperature aging → semi-finishing – low temperature aging – fine grinding.
(3) Rough reference selection: For non-machined surfaces, non-machined surfaces should be selected as the rough reference. For casting axes that need to be machined on all surfaces, the minimum surface is corrected according to the machining allowance. And choose a smooth surface, let the gate. Select a solid and reliable surface as a rough reference, while the coarse reference is not reusable.
(4) Fine benchmark selection: To meet the principle of baseline coincidence, the design basis or assembly benchmark should be selected as the positioning benchmark. In line with the principle of benchmarking. Use the same positioning reference as much as possible in most operations. As much as possible, the positioning reference coincides with the measurement reference. The selection of high precision, stable and reliable surface is a fine benchmark.
Technical requirements for the processing of drive shaft forgings
(I) Dimensional accuracy The main surfaces of shaft parts are often two types. One is the outer cylindrical journal that fits the inner ring of the bearing, that is, the bearing journal, which is used to determine the position of the shaft and support the shaft. High, usually IT5~IT7; the other type is the journal with the various transmission parts, that is, the matching journal, its precision is slightly lower, usually IT6~IT9.
(2) Geometric accuracy mainly refers to the roundness and cylindricity of important surfaces such as journal surface, outer conical surface and tapered hole. The error should generally be limited to the dimensional tolerance. For precision shafts, it must be specified on the parts drawing.
(3) The mutual positional accuracy includes the inner and outer surfaces, the coaxiality of the important axial plane, the radial runout of the circle, the perpendicularity of the important end face to the axial line, and the parallelism between the end faces.
(4) The surface roughness of the machined surface has a roughness requirement, which is generally determined according to the possibility of processing and economy.
Heat treatment of drive shaft forgings
(1) Forging blanks must be arranged for normalizing or annealing before processing to refine the internal grain of the steel, eliminate the forging stress, reduce the hardness of the material, and improve the cutting performance.
(2) The quenching and tempering is generally arranged after the roughing and before the semi-finishing to obtain good physical and mechanical properties.
(3) Surface quenching – generally arranged before finishing, this can correct local deformation caused by quenching.
(4) A shaft with high precision requirements, after local quenching or rough grinding, low temperature aging treatment is also required.

