The function and structural characteristics of the shaft forging
1.Function: Supporting transmission parts (gears, pulleys, etc.), transmission torque, receiving load, and ensuring that the workpiece or tool mounted on the spindle has a certain reversal accuracy.
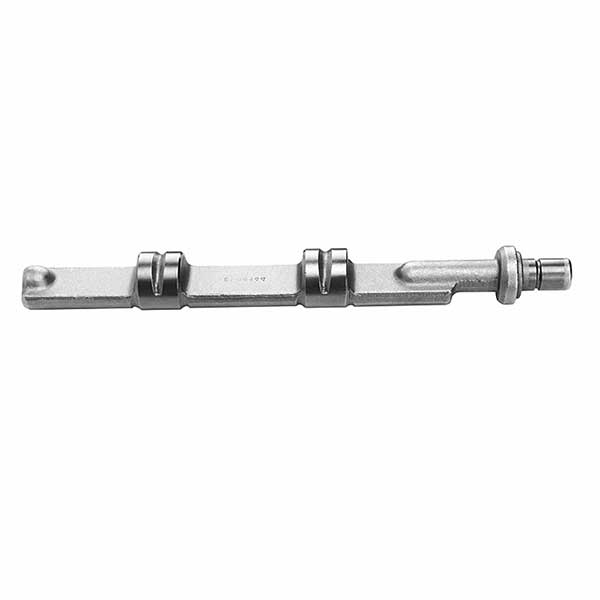
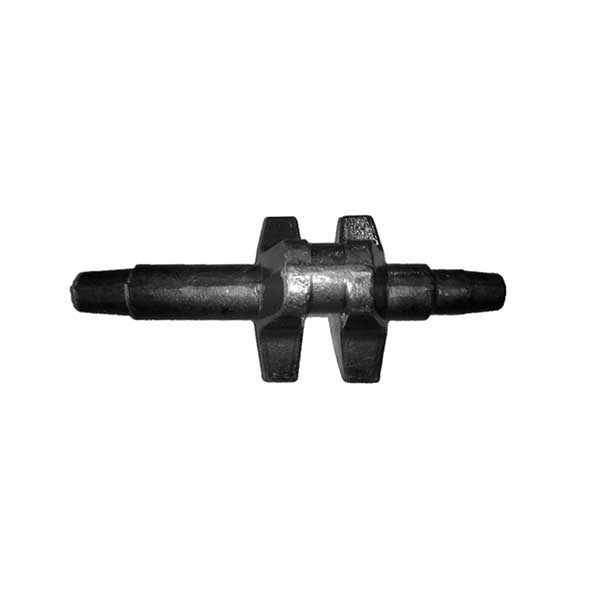
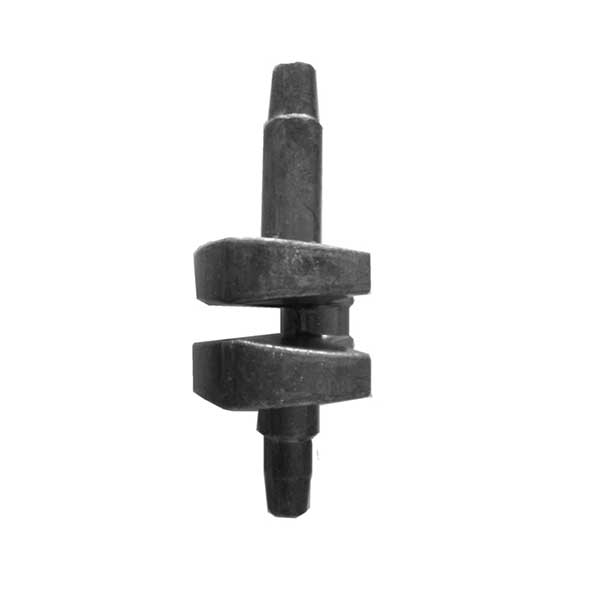
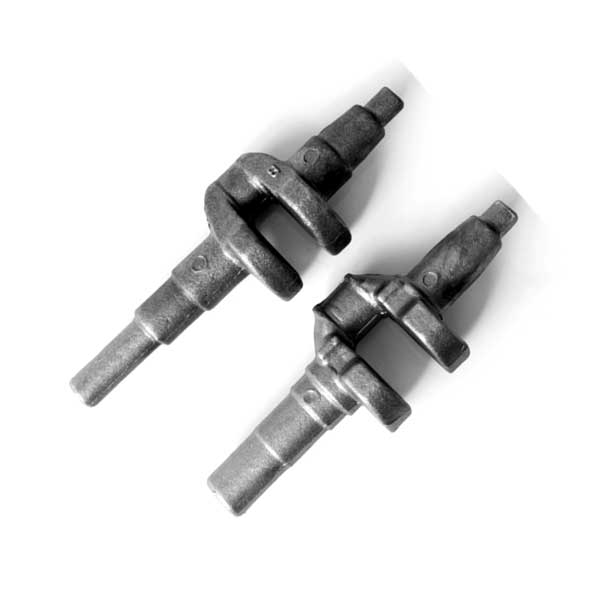
2.Classification: The shaft forgings can be divided into four categories according to their structural shape, which can be divided into optical axis, stepped shaft, hollow shaft and special-shaped shaft (including crankshaft, camshaft and eccentric shaft).
Shaft varieties:
1) optical axis;
2) hollow shaft;
3) half shaft;
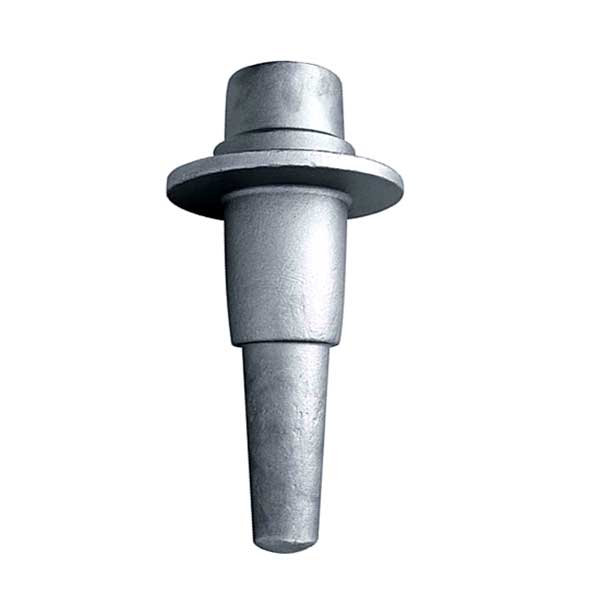
4) stepped shaft;
5) spline shaft;
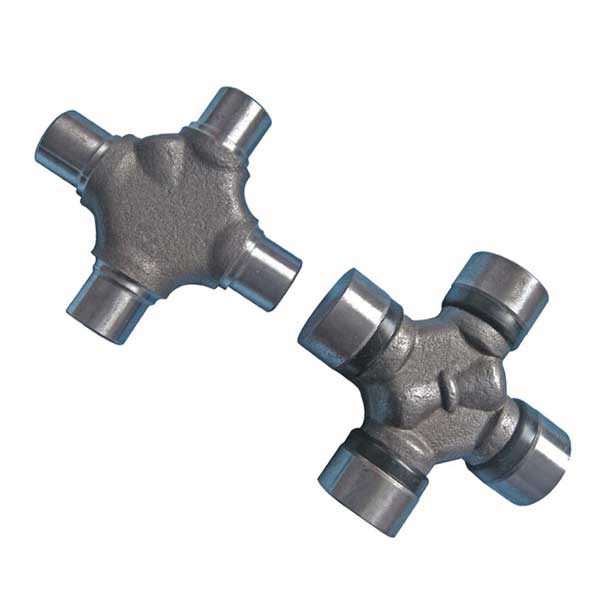
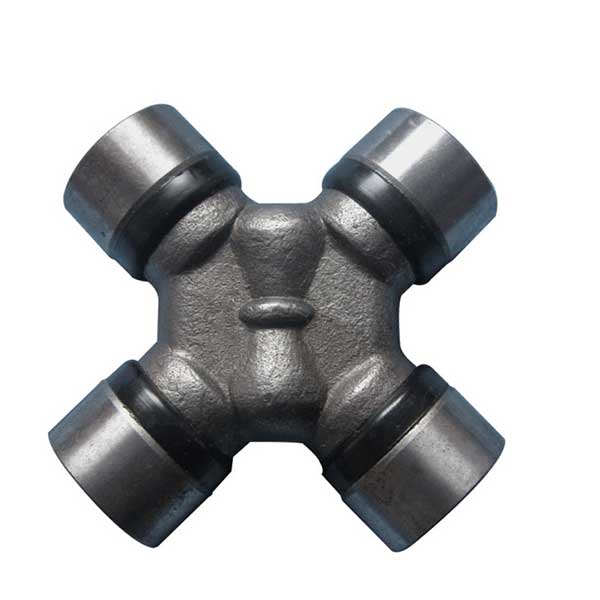
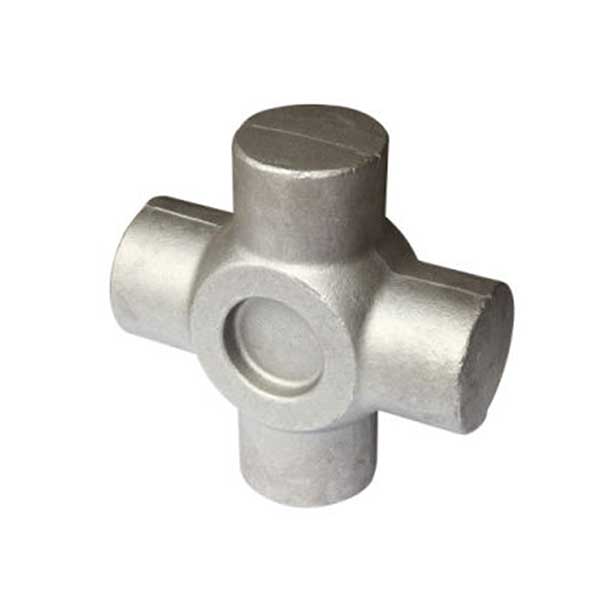
6) cross shaft;
7) eccentric shaft;
8) crankshaft;
If divided according to the length and diameter of the shaft, it can be divided into two types: rigid shaft and flexible shaft.
3.Appearance features: outer circle, inner hole, cone, thread, spline, transverse hole.
The shaft forging skills needs
1.scale accuracy
The journal is the primary appearance of the shaft forging, which affects the reversal accuracy and working condition of the shaft. The diameter accuracy of the journal is usually IT6~9 according to its application requirements, and the fine journal can reach IT5.
2.A few shape accuracy
The shape accuracy (roundness, cylindricity) of the journal should normally be constrained within the diameter tolerance point. When there is a high demand for a certain shape accuracy, the tolerances allowed for the forging drawings may be separately specified.
3.Azimuth accuracy
Firstly, it refers to the coaxiality of the cooperating journal of the mounting transmission member with respect to the bearing journal of the mounting bearing, which is usually indicated by the radial beating of the supporting journal to the supporting journal; according to the application requirements, the regular high-precision shaft It is 0.001 to 0.005 mm, and the usual accuracy axis is 0.01 to 0.03 mm.
In addition, there is the coaxiality of the cylindrical surface in the table and the straightness requirement of the axially positioned end face and the axial line.
4.Appearance roughness
According to the different working parts of the parts, there may be different appearance roughness values. For example, the outer surface roughness of the general machine tool spindle support journal is Ra0.16~0.63um, and the outer surface roughness of the cooperative journal is Ra0.63. ~2.5um, following the increase in the working speed of the machine and the improvement of the fineness, the demand for the roughness value of the shaft forgings will be smaller and smaller.

